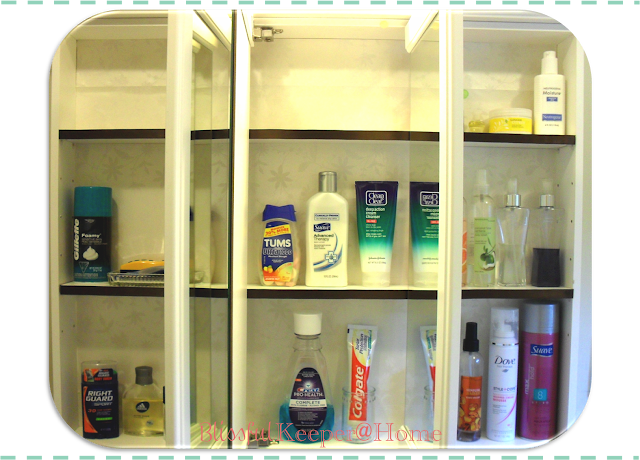
Plain white interior...not so pretty.
Here's my step-be-step process for beautifying the interior of our bathroom cabinet.
1. Gather materials:
- Self-adhesive wrapping paper of choice, make sure you have enough to cover the entire surface you plan to cover, I just barely had enough! I used a wedding themed paper from Hallmark.
- Spray adhesive - I used Scotch
- Craft glue
- Ribbon - approximately same width as shelf fronts
- Utility knife
- Scissors
- Screw driver
- Cleaner of choice - I used a 1 part water, 1 part vinegar solution
3. Place the paper on the back side of the cabinet. Make sure it covers the entire back and try to get it as smooth as possible.
4. Use the utility knife to trim the excess paper. For a nice, clean cut make sure you are using a sharp blade. If the blade is dull, it will cause the paper to rip. Not what you want.
5. Leaving the paper in, peel back one side and spray the adhesive on the back of the cabinet. I would recommend covering your vanity to protect it from over-spray. I worked from left to right. Once I had the far left side glued down, I peeled the paper back towards the left and began gluing from there. Be sure to smooth out your paper as you work, otherwise you will have bubbles and wrinkles.
Nice, smooth, pretty papered back.
Next we move onto the shelves!
6. Cut to pieces of ribbon to match the length of your shelves. I chose to cut mine a little long and trimmed closer after it was glued down.
7. Apply craft glue to the edge of the shelf that will be facing out. I chose to apply it in a zig-zag pattern and then smoothed it with my finger to have an even, thin coat.
8. Carefully place the ribbon on the shelf edge with glue. Again, I worked from left to right. My ribbon was just a hair or two wider than my shelf edge, so I had to make sure it was even across the top, and only hung over on the bottom.
9. Repeat steps 7 and 8 with second shelf.
11. Fill with health and beauty products as desired.


You know, this is one of the things in MY house that I try to ignore :) Your transformation is wonderful -- I love how you added the ribbon to the shelves too!
ReplyDeleteLauren, Thank you for stopping by had and sharing those sweet words!
Delete